Happy New Year Friends!
I apologize for my complete lack of posting anything in the past several months. Life got away from me and my creative juices nearly shut down. While I have completed a few small crafty projects, I haven't had the time (or energy) to work on anything big until recently. I was lucky to have two weeks off of work for the holidays and I spent some quality time with pinterest to spark my creativity.
I came across a few posts on fabric painting with chalk paint, which piqued my interest because I have extra chalk paint and I have been fawning over gorgeous wingback chairs for a while now. My library room is the first room you see as you enter my home and it is lacking seating. While visiting my favorite thifty store, the Habitat for Humanity Restore, I found a wingback chair in great condition with one exception - the fabric. The chair price was lowered to $35! Score!
 |
| Wingback in need of a face lift |
Before painting, make sure to clean the chair of any stains or dirt. I gave my chair a good vacuum and cleaned any dirt spots.
I did a lot of research online before starting this project. I learned that one must add water to the chalk paint in order to thin it out and ensure the paint will soak into the fabric. So I added enough water to make the paint look the consistency of milk. Then I used a spray bottle of water to wet the fabric directly. I used that spray bottle a lot on the first coat to smooth out the paint.
 |
| Use a spray bottle to wet the fabric |
 |
| Starting the first coat. |
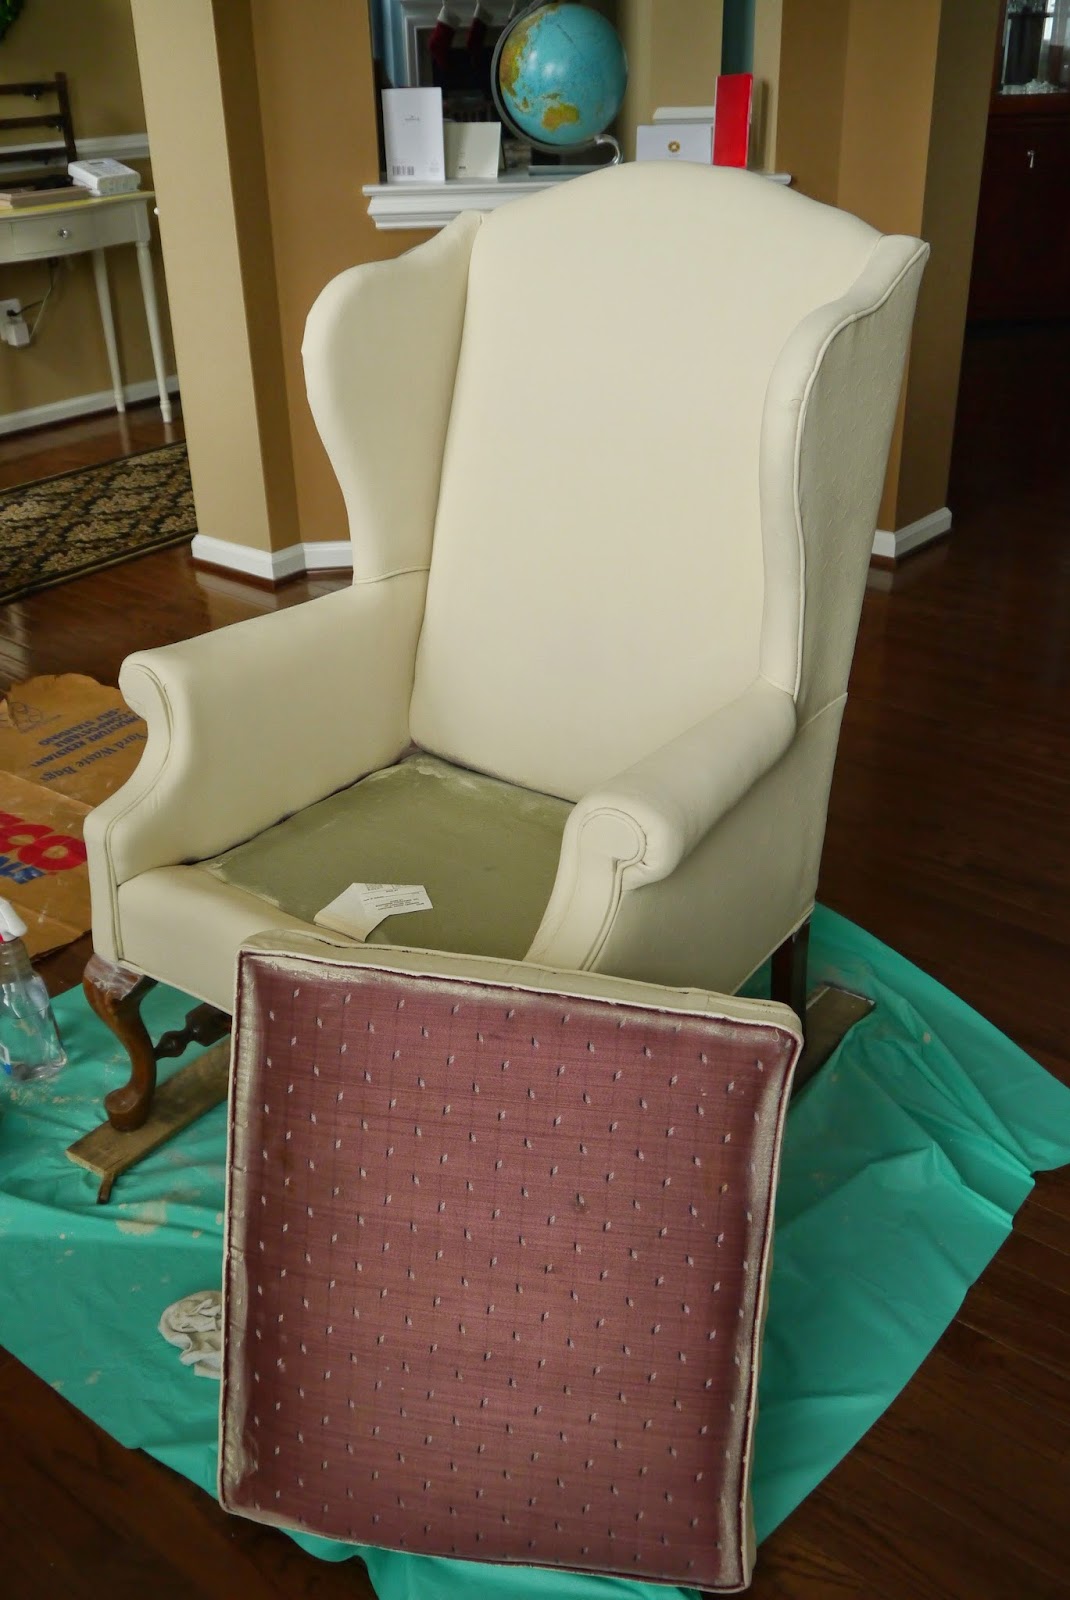
I left the bottom of the cushion unpainted to show my progress. The first coat was very streaky and took a while to dry because I used a lot of water. I let the chair dry overnight before attempting the second coat.
 |
| First coat completed! |
I still diluted the paint on the second coat to a milk consistency. However, I did not use the spray bottle as much on the fabric because of the first coat of paint.
 |
| Starting the second coat |
The second coat of paint covered a lot better but still had some streaks.
 |
| Second coat complete! |
The final coat of paint! I was surprised at how "soft" the chair looked. The coverage was great too!
 |
| Final coat of paint |
I used the Old White chalk paint to color the trim. So fancy!
 |
| Added Old White to the trim |
Be sure to apply a thin coat of clear wax, which both seals the paint and softens the fabric. At this point the chair fabric has the suppleness of outdoor fabric. I also applied non-diluted Old White chalk paint to the chair legs/frame.
I may go back and distress the chair legs/frame at some point. However, I am happy with the look for now. I am curious how long the painted fabric will handle the daily use. So far so good!
Take Care!


When you first talked about painting a chair, thought this will never work. You got a chair that was in good shape, price was right, plus had the paint. It turned out great, looks wonderful in the room. Did a great job.
ReplyDeleteThanks G! I am glad you like the chair.
DeleteHi Tara. Testing to see if you get this. Please let me know
ReplyDeleteMessage Received Ginny!
DeleteHi Tara, Doesn't look like my last comment went through either. I don't know what I'm doing wrong??? Anyway, I love the chair and the post. Who knew you could paint upholstery? And you had the verve to try! Glad you're back on the blog. I missed your DIY projects. Shared with my sister and she loves them too. Enjoyed visiting your lovely home. Ginny
ReplyDeleteGinny, Sorry you had trouble leaving a comment. I'm glad you like the chair! I didn't realize painting fabric with chalkpaint was a thing either. It was nice visiting with you over Christmas. Tell Gary hello from me.
Delete