Showing posts with label repurpose. Show all posts

Friday, January 2, 2015

Thift Store Chair Makeover


Happy New Year Friends!

I apologize for my complete lack of posting anything in the past several months. Life got away from me and my creative juices nearly shut down. While I have completed a few small crafty projects, I haven't had the time (or energy) to work on anything big until recently. I was lucky to have two weeks off of work for the holidays and I spent some quality time with pinterest to spark my creativity.

I came across a few posts on fabric painting with chalk paint, which piqued my interest because I have extra chalk paint and I have been fawning over gorgeous wingback chairs for a while now. My library room is the first room you see as you enter my home and it is lacking seating. While visiting my favorite thifty store, the Habitat for Humanity Restore, I found a wingback chair in great condition with one exception - the fabric. The chair price was lowered to $35! Score!

Wingback in need of a face lift
I pulled out the chalk paint from the garage and blew off the dust. It has been too long since I have played with chalk paint. The colors I used are Old Ochre and Old White.


Before painting, make sure to clean the chair of any stains or dirt. I gave my chair a good vacuum and cleaned any dirt spots.

I did a lot of research online before starting this project. I learned that one must add water to the chalk paint in order to thin it out and ensure the paint will soak into the fabric. So I added enough water to make the paint look the consistency of milk. Then I used a spray bottle of water to wet the fabric directly. I used that spray bottle a lot on the first coat to smooth out the paint.

Use a spray bottle to wet the fabric

Starting the first coat.

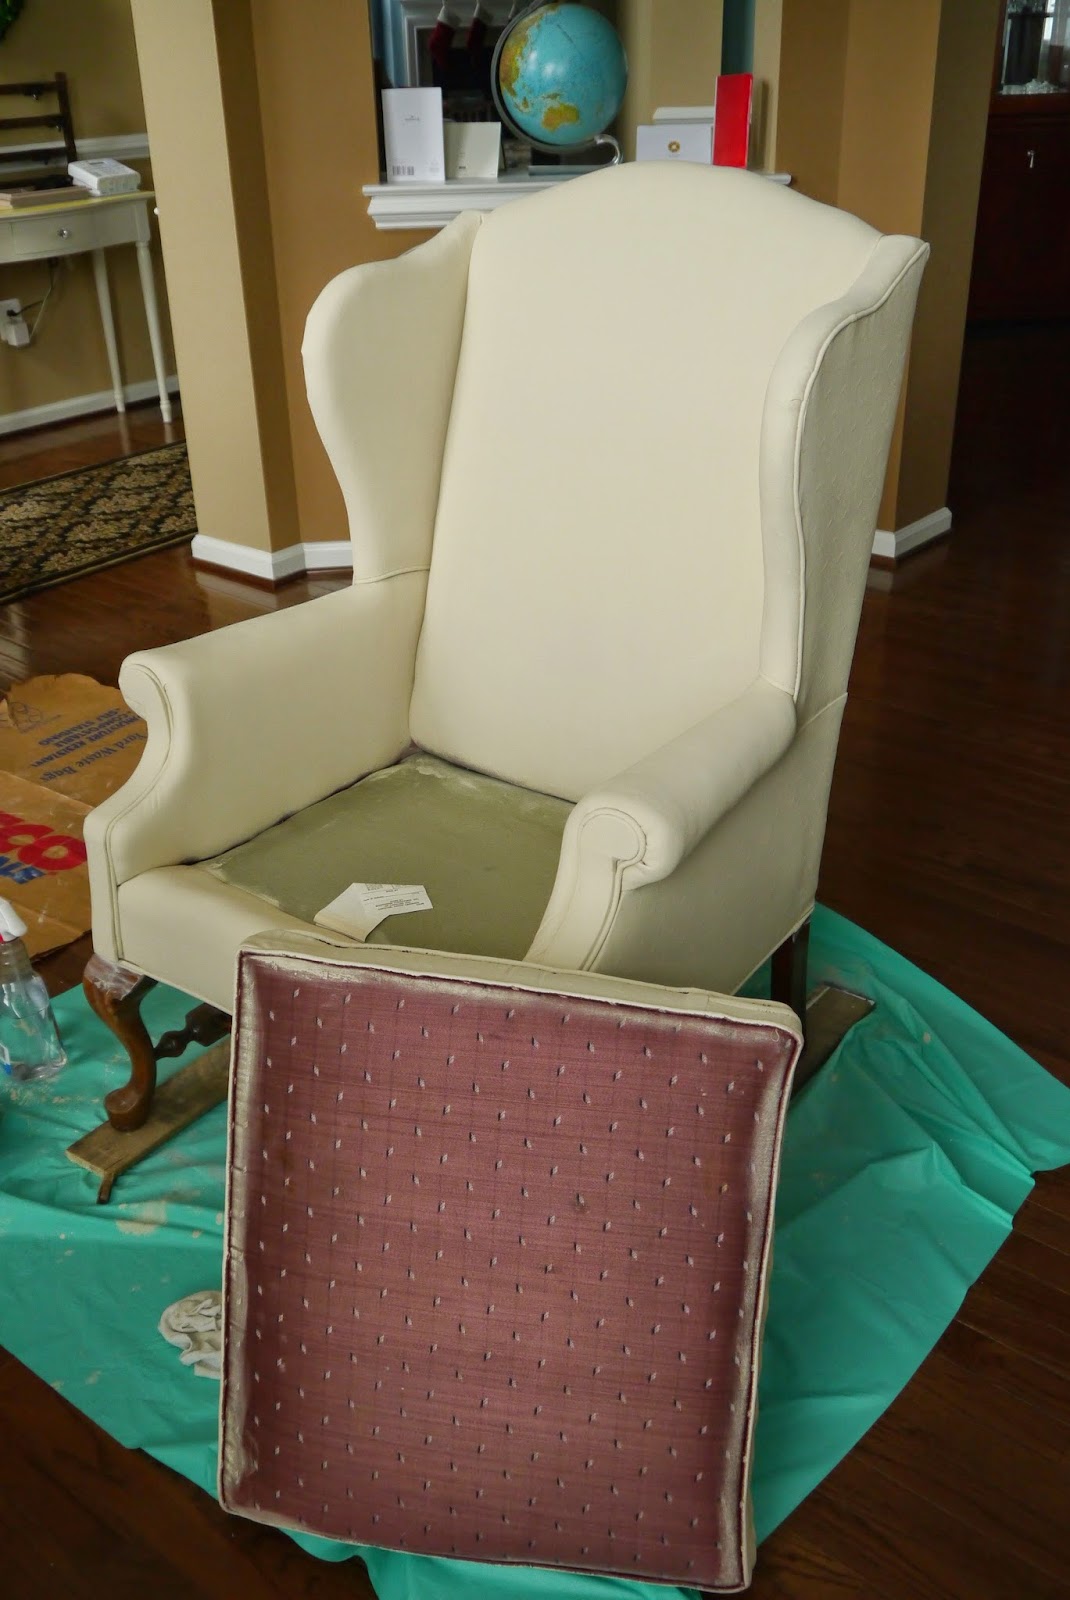
I left the bottom of the cushion unpainted to show my progress. The first coat was very streaky and took a while to dry because I used a lot of water. I let the chair dry overnight before attempting the second coat.
First coat completed!

I still diluted the paint on the second coat to a milk consistency. However, I did not use the spray bottle as much on the fabric because of the first coat of paint.


Starting the second coat


 The second coat of paint covered a lot better but still had some streaks.

Second coat complete!

 The final coat of paint! I was surprised at how "soft" the chair looked. The coverage was great too!
Final coat of paint

I used the Old White chalk paint to color the trim. So fancy!

Added Old White to the trim

Be sure to apply a thin coat of clear wax, which both seals the paint and softens the fabric. At this point the chair fabric has the suppleness of outdoor fabric. I also applied non-diluted Old White chalk paint to the chair legs/frame.

I may go back and distress the chair legs/frame at some point. However, I am happy with the look for now. I am curious how long the painted fabric will handle the daily use. So far so good!

Take Care!

Sunday, July 13, 2014

Bianca the Bench


My buddy Dip and I embarked on re-purposing discarded dining room chairs into a bench. This blog served as our inspiration: http://www.raisingdickandjane.com

Dip found the starting foundation to the bench - two discarded dining room chairs.

Discarded chairs found in the trash pile


Once we got them in the workshop (aka garage), we removed the seat cushion and backing fabric.
First things first - remove all the fabric.

Use pliers to remove fabric staples

Meet my new miter saw!  I named her Melanie miter.  She is my best pal when I need to cut wood.

To avoid putting a screw through the chair frame, we added additional framing to the existing chair seat supports. 


Then we flipped the chairs over on top of the wood boards to use as seats and screwed the boards into the supports from the bottom to avoid visible screw heads. The boards consist of a 1x6x8 piece of pine that we had cut in half at the hardware store, leaving two 48" boards to use as the bench seat.


We used a spacer between the boards

We used wood clue to secure the middle piece as well as the front and back rounded edges. 


Clamps used to hold pieces in place
 After everything dried, it was time for sanding.

Because the chairs had a very glossy black lacquer finish, I spent a while sanding to ensure a dull finish for the primer to sink into.

I primed the chair frames before painting with an exterior paint.


Meet Bianca the Bench! Isn't she a beauty! She is wearing BEHR in the color Spring Stream. She found a new home on our porch and will serve as seating for the dining area section.


Happy DIY'ing!

Sunday, April 27, 2014

Old Wooden Window turned Towel Rack


Old wooden, paint cracked windows are popular these days.  I picked up two of them from a thrift/antique type store in North Carolina several months ago.  I have been peculating on an idea to create a purposeful decor piece out of one window.  I've had a few ideas on what to use them for but creating a towel rack for our master bathroom stuck in my mind.  Our bathroom had no towel racks at all and has a boring builder grade feel.

I spent extra timing searching for a window with the glass intact

Aged window lock and perfectly imperfect cracked paint

I picked up some supplies including a basic towel rack,  two stainless steel pipe clamps and a french cleat.  I ended up going back to the store and getting a 30in rod because that fit the length of the window better.


I pre-drilled holes through the clamps so I could easily screw them into the exact locations I wanted on the window frame.  I'm not exactly sure which drill bit works best for getting through metal but definitely use a scrap piece of wood underneath.


After wiping down the window, adding a couple mason jars to the metal camps, securing the towel rod and the french cleat, this is what I had.  For me the devil is in the details and visibly seeing the french cleat annoyed me.  Back to the store to find a backing option.


I picked up 1 yard of neutral chevron material.  Believe it or not, but I used a stapler to attach the material to the back frame of the window.  The old wood was soft enough for the staples to penetrate.  In the future, it will be easy to remove the staples and change out the material background.


The material backing did the trick!  The french cleat is hidden perfectly.  I added a small preserved boxwood wreath which I love and I am really happy with how this project turned out.  The window adds a lot of interest to an otherwise dull bathroom as well as much needed towel rack space.


Happy DIY'ing!

Wednesday, April 2, 2014

Spring has sprung!

I am finally coming out of hibernation!  We have had a tough, cold winter that has kept me inside and suppressed my creativity.  The weather is finally starting to shift into spring and I can tolerate working in the garage - although, I should clean the garage out at some point.

Anyway, this past weekend I finished two small projects.  I have a few pairs of old wooden shutters lying around in the garage.  For months I've had an idea in my head to use the shutter as a mail organizer/command center sort of thing.

Old wooden shutter from a Habitat Restore for $5
I used left over Chateau Grey chalk paint, which is a muted green/grey color.  After a small amount of distressing, I added a coat of clear soft wax.


I added a few hooks to hang extra keys and used wooden mini chalk board clothes pin labels.  This organizer is a great way to keep cards, bills and coupons off the counter.  I did a quick search on etsy for a shutter mail organizer and they sell for $30 and up.  I spent $5 for the pair of shutters, which means I still have one side left. I used left over paint and wax. I purchased the silver hooks for ~$1.70 at the hardware store.  I hung the organizer with Command removable picture hanging strips so I could remove the shutter without damaging the cabinet.

Finished shutter mail organizer

In addition to the shutter project, I updated my small wall gallery with nautical themed canvas.  I am sort of obsessed with nautical themed everything right now... anchors, rope, blue/white strips, etc. 


I used mod podge to adhere the images to blank canvases. Then added a black paint border with a sponge.  I've done this before and it is a fun, easy project.


For those keeping score, I made the currency collage a few years ago as a way to display all the currency I've collected while traveling.  I also created the subway art image used in the top right display which includes all of the places my husband and I have traveled together.

That's all for now!  I hope spring is here to stay.

Sunday, November 10, 2013

Ikea Mirror Makeover

Last week I decided to make over a mirror that was sitting in the yard sale pile. This common Ikea mirror has been with me for many years. It is a heavy thing that has outgrown its welcome unless I could come up with a way to bring it back to life.


I decided to paint the mirror, with the idea that if I ruined it I could put it right back into the yard sale pile. First, I covered up the middle area that I did not want to paint. Question, does a better way exist to tape off a circle besides outlining the sides with tiny pieces of tape? That was not fun.

Use painters tape to protect areas from paint

I planned to use plain flat latex paint that I already owned. Therefore, I had to prime the mirror so the paint would stick to it.

paint primer spray

prepped and primed for paint

I painted two coats of paint to achieve the coverage I was looking for. I did have to take a small paint brush to get in between the little mosaic mirror pieces.

coat #1
Two coats of paint later

I did not put on a sealer because I am planning to hang the mirror on a wall where it would not get touched often. 
eat your heart out Ikea!
The mirror has not found a home on the wall yet. I am still debating whether to hang it in the guest room or the bathroom.


On a completly unrelated note, I picked up some ceramic egg crates from World Market.  I use them for jewelry organization.  My previous jewelry organizers had fewer pockets and a dark background that seemingly made my jewelry disappear. These little crates provide the perfect easily searchable white background with plenty of pockets to hold my goodies.

ceramic egg crates

I found a few treasures this weekend at local estate sales and my favorite consignment shop.  They will be the subject of my next post.

Take care!